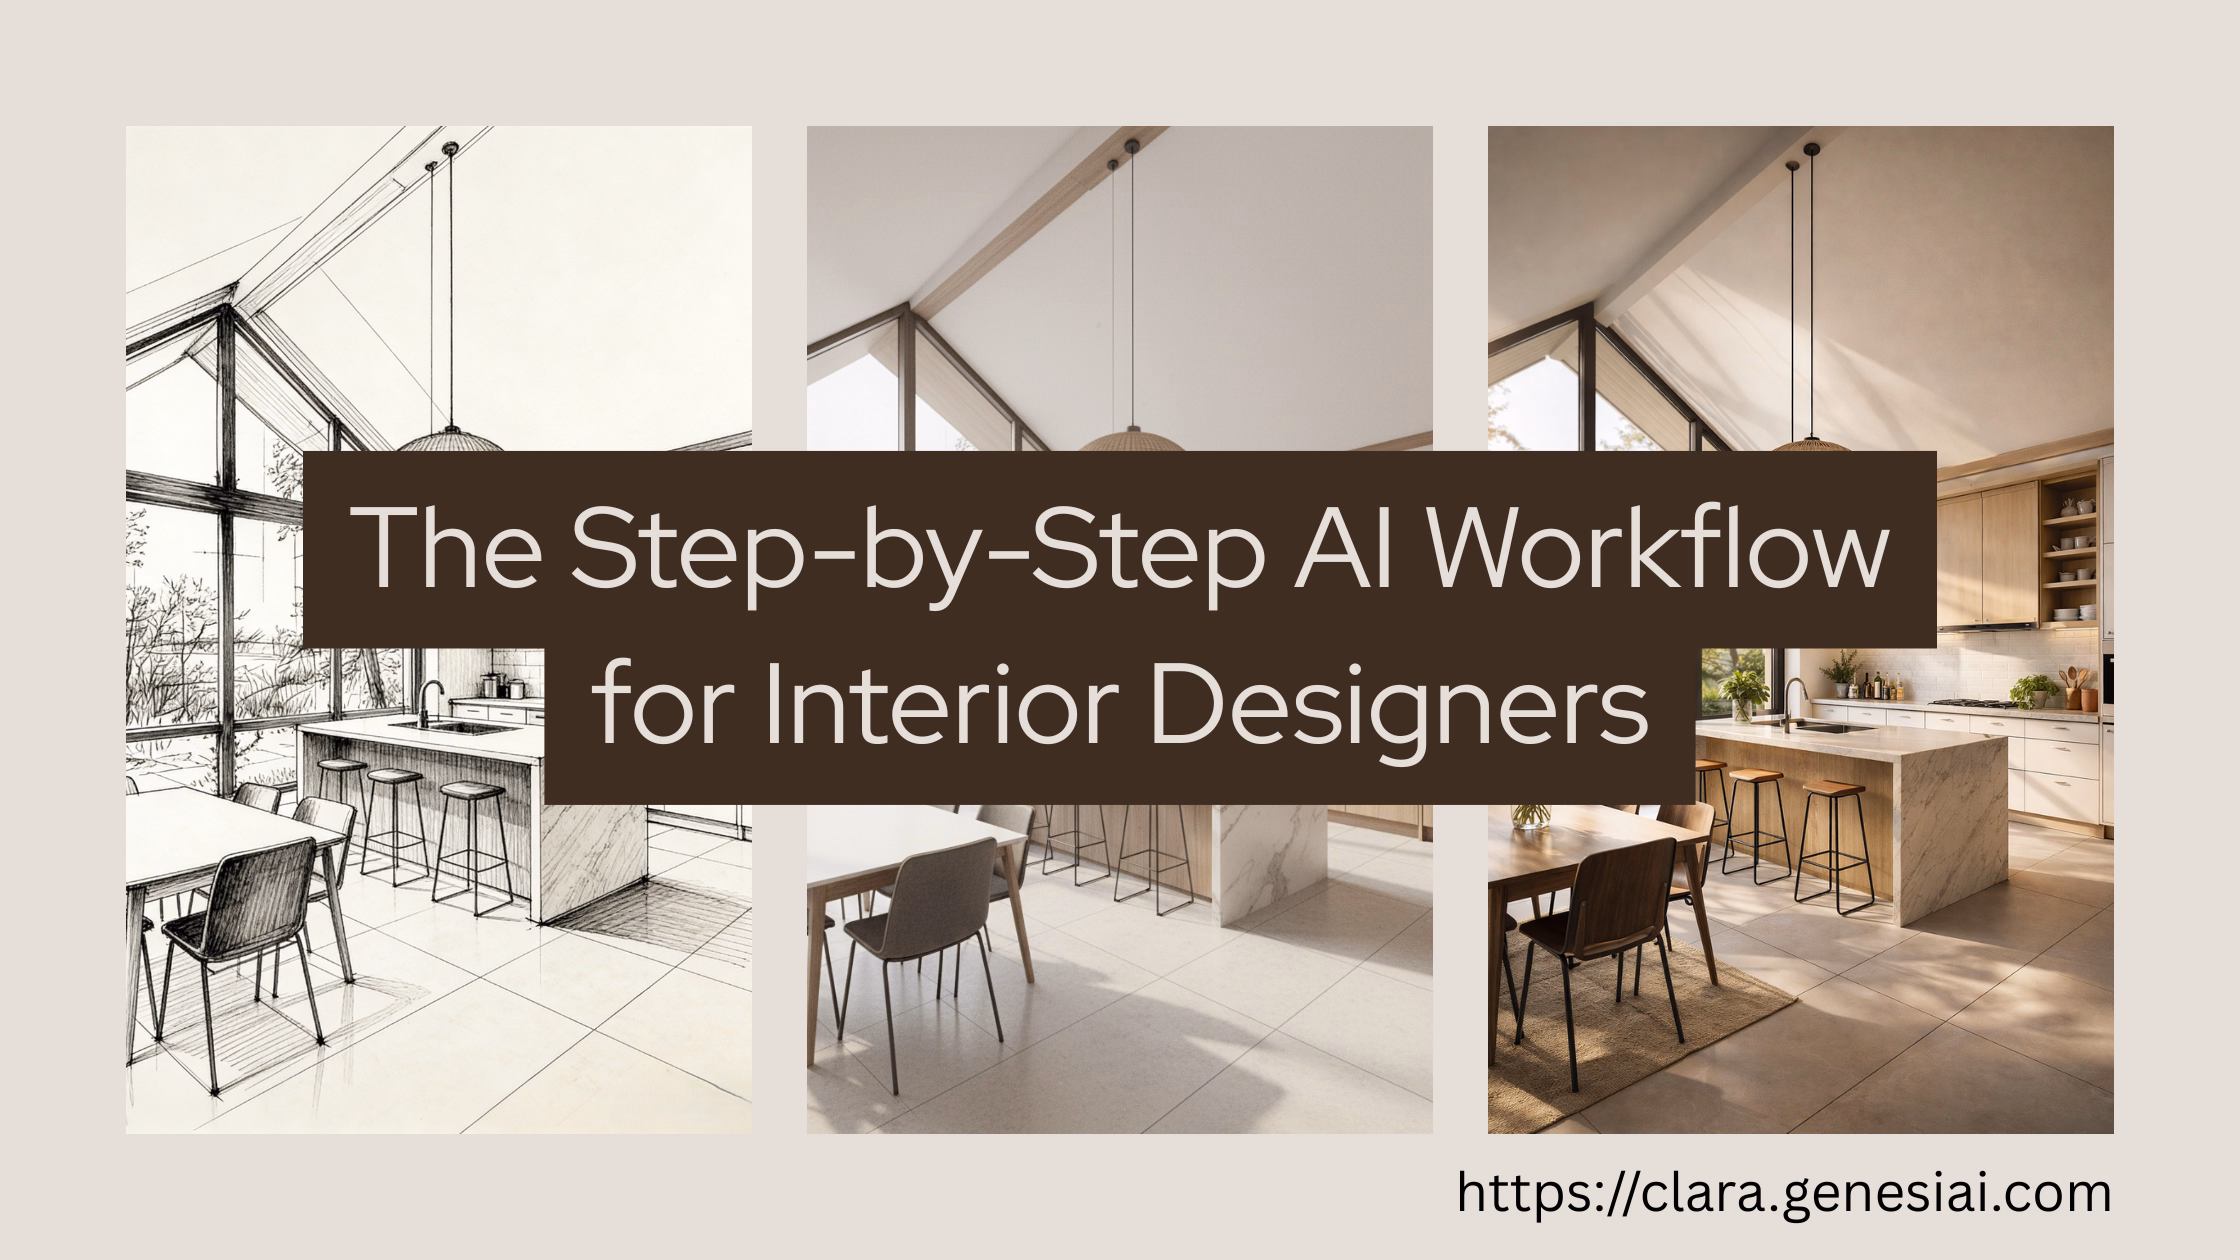
From Mood Board to Photorealistic Render in 90 Seconds: The Step-by-Step AI Workflow for Interior Designers
You spend 6 hours building a mood board.
You carefully curate every element. The paint swatch from Farrow & Ball. The sofa from a supplier you trust. The pendant light you spotted at a trade show. The rug from that artisan maker. You arrange it all beautifully in InDesign or Canva.
And then your client says: "It's lovely, but what will it actually look like?"
What if you could answer that question—literally show them—in 90 seconds?
This is a step-by-step tutorial for turning your design concepts into photorealistic room renders using AI. No 3D modelling experience required. No expensive software subscriptions. No render farm. Just your phone, your laptop, and Clara.
What You'll Need
A device: Laptop, tablet, or even your phone
A room image: The client's actual room photo, a hand-drawn sketch, a SketchUp screenshot, or a reference space photo
Clara account: Sign up here — 10 credits for $5, no subscription required
Your design vision: The part the AI can't provide
Time investment: 5 minutes for your first render. 90 seconds once you've done it twice.
The Workflow: 5 Steps to a Photorealistic Render
Step 1: Capture or Collect the Room Image (2 minutes)
You need a starting point: a photo of the space you're designing, a hand-drawn sketch, or a SketchUp screenshot of the space.
Option A: The Client's Actual Room
This is the gold standard. Using the client's real room creates an instant emotional connection because they recognise their space.
Tips for the best results:
Shoot from the main doorway or the corner with the widest view
Use landscape orientation
Good lighting matters—open curtains, turn on overhead lights
Include key architectural features (fireplace, bay window, alcoves)
Don't worry about mess—that's part of the transformation power
Option B: A Reference Space
If you don't yet have access to the client's room (common during pitches), use a reference image that matches their room type and size. Clara's AI will work with any interior image whether it's a real photo, a hand-drawn sketch, or a SketchUp screenshot.
Option C: Empty Room / Virtual Staging
If you're working with vacant properties or new builds, upload the empty room photo. Clara's Virtual Staging mode will furnish it completely.
Step 2: Upload to Clara (10 seconds)
Click to upload your room image
The image loads instantly—no processing wait
Pro tip: If you're in a client meeting, have the Clara editor open in a browser tab on your tablet before the meeting starts. Reduces fumbling.
Step 3: Choose Your Design Direction (30 seconds)
This is where your design expertise comes in. Clara offers three powerful approaches:
Approach A: Curated Style Selection
Choose from Clara's 36+ professional design styles:
Modern, Contemporary, Minimalist
Scandinavian, Japandi, Wabi-Sabi
Industrial, Urban Loft
Mid-Century Modern, Art Deco
Traditional, Classic, Grandmillennial
Farmhouse, Coastal, Mediterranean
Bohemian, Maximalist, Eclectic
And many more...
Each style has been fine-tuned for photorealistic results. Pick the one closest to your concept.
Approach B: Reference Style (Recommended for Designers)
This is Clara's most powerful feature for professionals. Upload an inspiration image—a mood board image, a magazine tear, a Pinterest save, a photo from your own portfolio—and Clara applies that exact aesthetic to the room.
Why this matters: Instead of choosing from pre-built styles, you're encoding YOUR design language. Your signature look. Your curated references. This ensures every render feels like YOUR work, not generic AI output.
Approach C: Text Prompt
Describe what you want in plain language: "Warm minimalist living room with limewash walls, white oak floors, linen sofa, brass accents, and abundant natural light."
Clara interprets your description and generates accordingly. Great for exploring ideas you haven't fully visualised yet.
Step 4: Generate (30 seconds)
Hit the generate button. Wait approximately 30 seconds (it may take a little longer sometimes).
What you get: a photorealistic render of the room, redesigned in your chosen direction.
What "photorealistic" means in 2026:
Accurate lighting (shadows match the room's natural light direction)
Realistic materials (you can see fabric texture, wood grain, stone veining)
Proper perspective and scale (furniture is proportionally correct)
Colour accuracy (the sage green you chose actually looks sage green)
In blind tests with 50 interior designers, participants correctly identified AI renders only 58% of the time. That's essentially random chance.
Step 5: Iterate and Refine (as needed)
The first render is rarely the final answer. It's a starting point for conversation.
Common iterations:
"Love the layout, but the walls are too dark" → adjust colour palette, regenerate
"Can we see it with a different sofa style?" → change furnishing reference
"What about a more traditional version?" → swap the style reference
"Show me the same room at night" → adjust lighting to evening ambiance
Each iteration takes another 30 seconds. In 5 minutes, you can generate 6–10 variations of the same room.
The comparison power: Place two renders side by side on your tablet. "Option A: contemporary. Option B: transitional. Which direction speaks to you?" This is infinitely more powerful than "imagine the room with a more transitional feel."
Advanced Techniques for Design Professionals
Technique 1: The Style Gradient
Generate the same room in 3 points along a style spectrum:
Conservative: The "safe" option. Familiar, comfortable.
Moderate: Your recommended design. The sweet spot.
Bold: The aspirational option. Pushes boundaries.
Most clients choose the moderate option—but seeing the range gives them confidence in the decision. It also prevents the "can we go a bit further?" cycle because they've already seen "further" and decided it's not them.
Technique 2: The Material Study
Use Clara to explore material options on the same design:
Same room, same layout, but swap the sofa fabric (velvet → linen → leather)
Same kitchen design, but change the countertop (marble → granite → quartz)
Same bedroom, but test three different wall treatments (paint → wallpaper → panelling)
This replaces: The £200+ cost of ordering physical samples that clients may never return.
Technique 3: The Seasonal Portfolio
Generate the same room design across different lighting and styling conditions:
Summer: Bright, airy, light linens, fresh flowers
Autumn: Warm, layered, textured throws, amber lighting
Winter: Cosy, dramatic, candlelight, deep textures
Evening: Moody, artificial lighting, intimate atmosphere
Use this for: Social media content, portfolio variety, and showing clients how their room will feel year-round.
Technique 4: Product Placement for Sourcing
Clara's Product Placement feature lets you drop specific product images into a scene. This is transformative for sourcing presentations:
Take a photo of the specific sofa you're recommending (from the supplier's website or catalogue)
Upload it to Clara
Place it in the client's actual room render
Adjust the position and size of the sofa on the top of the room image to get the placement exactly right (Yes, this is what Clara can do while nano banana and gpt image2 cannot do)
The AI preserves the product's true colour and texture while blending it naturally into the scene
This replaces: "Here's a link to the sofa. Now imagine it in your room." Instead: "Here's your room with the sofa. What do you think?"
Building Your Template Library
The designers who get the most from AI don't start from scratch every time. They build a library of reusable templates:
Style Templates
Create 5 reference style profiles that represent your core aesthetic range:
Template 1: Your signature warm minimalism
Template 2: Your take on contemporary classic
Template 3: Your version of Scandi-modern
Template 4: Your maximalist bohemian approach
Template 5: Your architectural modern direction
Upload reference images for each to Clara's Reference Style feature. Now any room can be rendered in any of your signature styles with one click.
Room Type Templates
Develop optimised approaches for your most common project types:
Living rooms (your most-requested space)
Bedrooms (master vs. guest vs. children's)
Kitchens (open-plan vs. galley vs. island-focused)
Home offices (post-pandemic staple)
Bathrooms (spa-like vs. functional)
Presentation Templates
Build a repeatable presentation structure:
Page 1: Before photo (client's current room)
Page 2: Design Direction A
Page 3: Design Direction B
Page 4: Design Direction C
Page 5: Chosen direction with product callouts
Page 6: Next steps, timeline, pricing
This template works for every client. Customise the renders, not the structure.
Time and Cost Comparison
Let's be specific about what you're saving:
Traditional Mood Board + Concept Presentation
Step | Time | Cost |
|---|---|---|
Client meeting & brief | 1.5 hours | Your rate |
Mood board creation | 4–6 hours | Your rate |
Sourcing & sample collection | 2–3 hours | + sample costs |
Floor plan creation | 2–4 hours | Your rate (or software) |
Presentation assembly | 1–2 hours | Your rate |
Revision round 1 | 3–4 hours | Often unbilled |
Revision round 2 | 2–3 hours | Often unbilled |
Total | 16–24 hours | £1,200–£1,800 (at £75/hr) |
AI-Powered Visual Presentation
Step | Time | Cost |
|---|---|---|
Client meeting & brief | 1.5 hours | Your rate |
AI render generation (3 concepts) | 15 min | ~£2 (3 credits) |
Live iteration with client | 20 min | Part of meeting |
Refined render + presentation | 30 min | ~£2 (2 credits) |
Revision (if needed) | 15 min | ~£1 (1 credit) |
Total | 3–4 hours | £225–£300 + ~£5 credits |
Time saved per project: 12–20 hours Cost saved per project: £900–£1,500 Across 20 projects/year: 240–400 hours and £18,000–£30,000 saved
Those hours are either more projects, more income, or more life.
Troubleshooting Common Issues
"The render doesn't match my vision exactly."
Remember, the first generation is a starting point. Use more specific reference images or text prompts. The more precise your input, the more accurate the output. If you want a specific paint colour, describe it: "Farrow & Ball Pigeon" is more useful to the AI than "grey-green."
"The furniture scale looks slightly off."
This can happen with unusual room proportions. Try shooting the room photo from a different angle—straight-on shots at eye level produce the most accurate scale.
"My client's room has unusual architecture."
Complex spaces (A-frames, circular rooms, split-level) may require you to select a reference room with similar architecture rather than using the client's actual photo. Generate the style direction on a similar space, then present it as "This is the feel we're creating in your home."
"The lighting looks different from my client's room."
Specify lighting in your prompt: "North-facing room with soft, diffused natural light" or "South-facing room with strong afternoon sun." You can also adjust between daylight and evening settings.
Your First 5 Renders: A Practice Exercise
Before using this with a real client, practice:
Your living room — Redesign your own space in your favourite style
A Pinterest inspiration — Take a room you love and apply it to a different space
A past project — Upload a "before" photo from a completed project, generate a concept, and compare it to what you actually delivered
Style comparison — Take one room photo and generate it in 3 different styles
Product placement — Drop a specific piece of furniture into a scene
By render #5, you'll be generating in under 90 seconds and wondering why you ever spent 6 hours on a mood board.
Ready to speed up your design process? Try Clara — 10 credits for $5